
I'm back to show you how I finished the rest of the banner.
The embellishments I used are from Sassafras.
Step 1

I cut out 3 inch letters from the "Lyrical Letters" Cricut Cartridge. I used the jumbo feature. I cut each letter three times. I layered them with foam adhesive to make them 3-D. So this was my first layer. I placed the adhesive around each letter, and then put the next set of letters on top. Then repeated the process once more.
Step 2

I put a chipboard piece between two layers to make it look like the crocodile was coming out from behind the letter O.
Step 3

I glued the letters on with Glue Dots. When I put the other embellishments on, I had to use the foam tape again. I had to layer two pieces of foam tape on top of each other so that the chipboard pieces would look like they were sitting on top of the letters.
Step 4

To tie the banner together, I cut 8 inch strips of ribbon. I brought them through the backside of the triangles. Then I knotted them. I tied two pieces together at a time.
And here is the final product:

Yes, this is JoJo holding it up to show you.
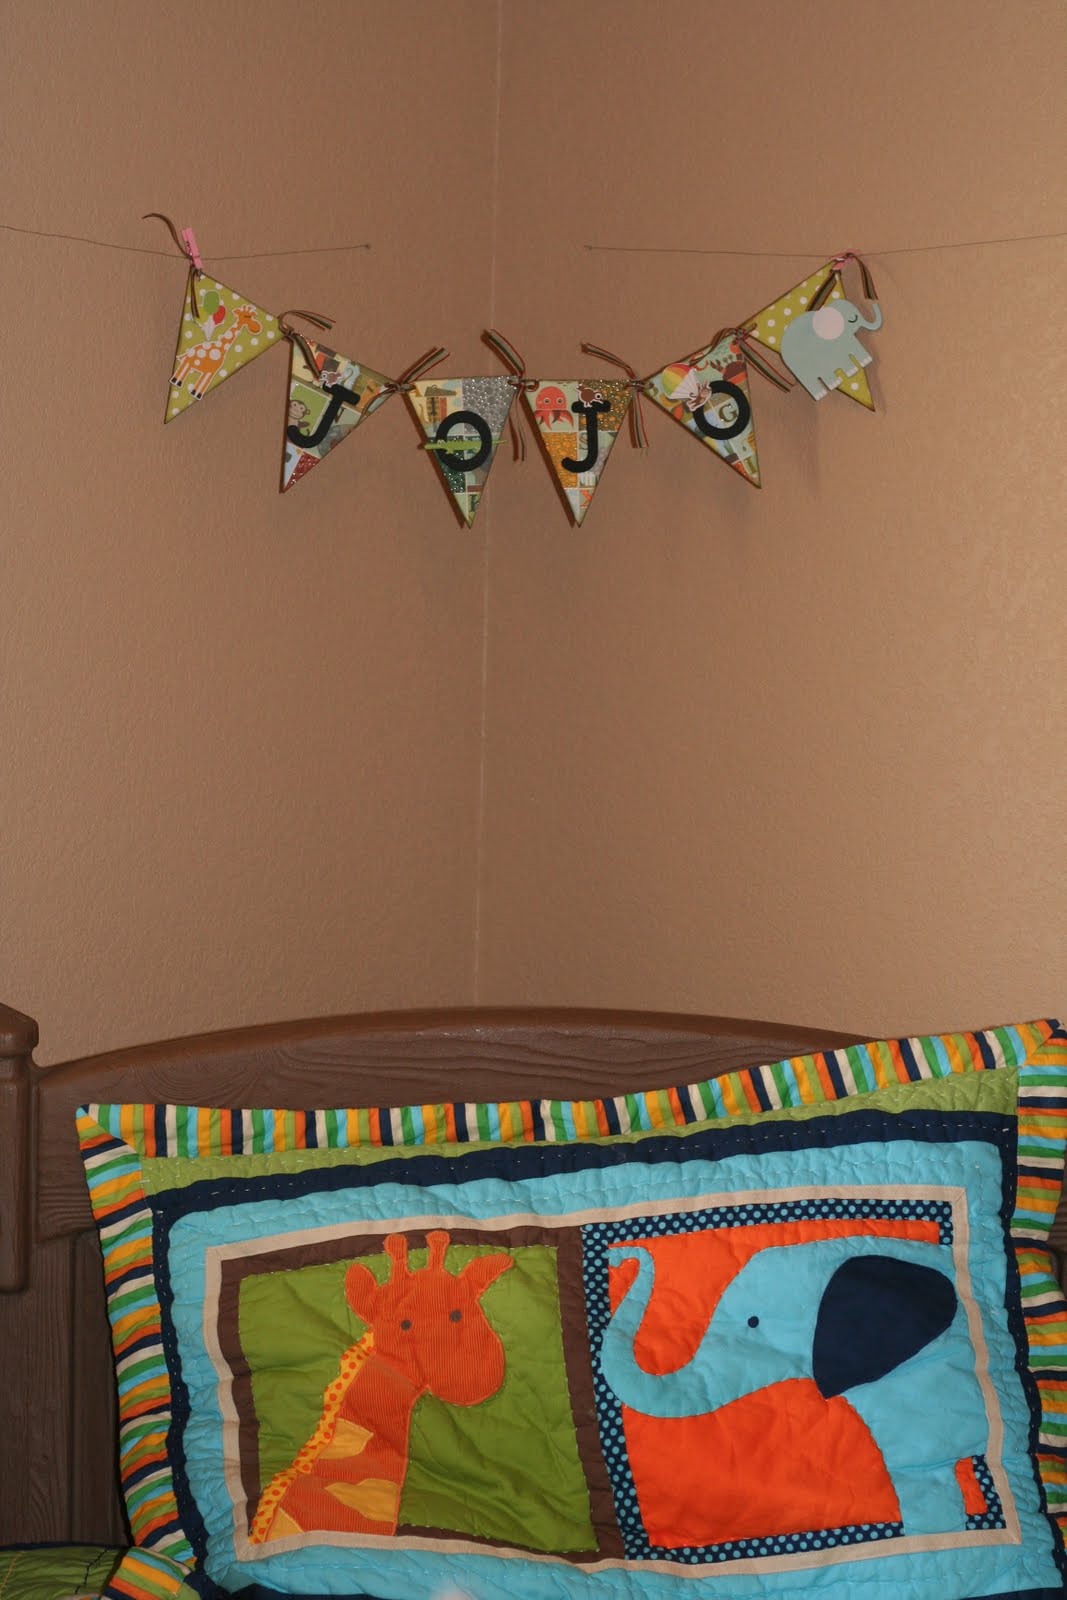
Here it is hanging in his room.

And here is JoJo in his bed saying cheese! He kept asking to cheese him ...aka... take his picture.
I hope you enjoyed it. I really did. The banner was super easy and quick to make. Please let me know if you have any questions.
Not only that, but don't forget about the Blog Hop tomorrow. Starting at 5 pm Eastern. It lasts until May 31. There will be plenty of prizes and things to spark your creativity.

No comments:
Post a Comment